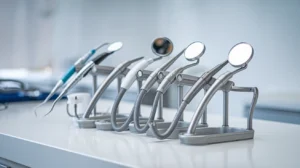
How to Choose the Best Dental Mouth Mirror for Oral Care
Picking the right dental mouth mirror might seem like a small task, but it’s actually pretty important for keeping your teeth and gums healthy. With so many options out there,
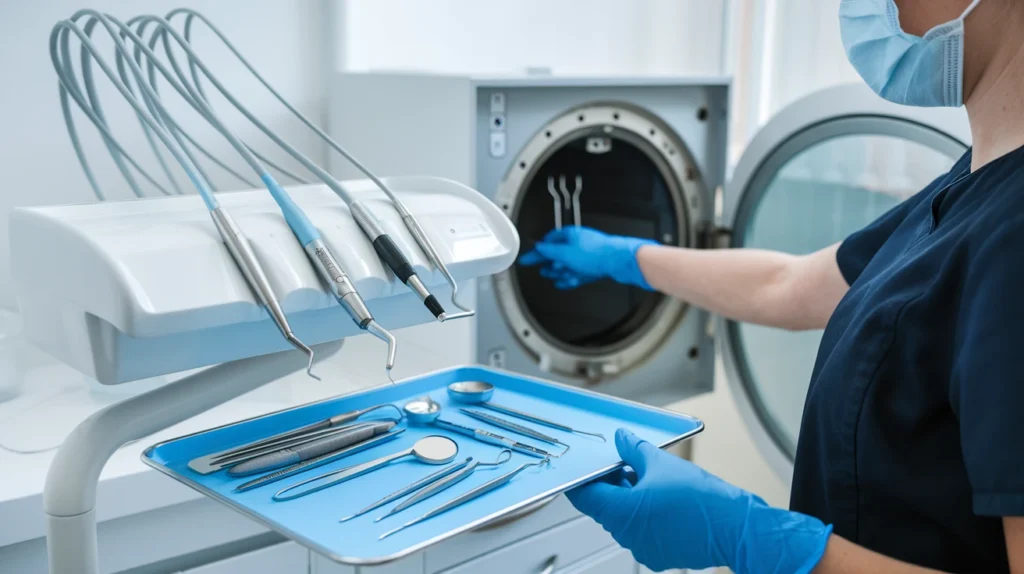
Hey there, dental pros! Today, we’re diving into something super important but often overlooked—how to properly mouth mirror sterilization. If you’re in the dental field, you know these little tools are essential for getting a good look at those pearly whites. But keeping them clean and sterile? That’s key to keeping your patients safe and your practice running smoothly. So, let’s break it down and make sure you’re doing it right.
Sterilization of mouth mirrors is a big deal in dental practices. These tools are used in every patient exam, so keeping them clean is crucial. Infection control is a top priority, and sterilizing mouth mirrors helps stop the spread of germs from one patient to another. Imagine the chaos if a simple tool like a mouth mirror became a vehicle for bacteria! By ensuring each mirror is properly sterilized, dental offices can significantly reduce the risk of cross-contamination and maintain a safe environment for everyone.
Patient safety is always on the line during dental procedures. Mouth mirrors, while small, play a big part in this. If not sterilized, they could harbor harmful bacteria that might lead to infections or other complications. Using a clean, sterilized mirror ensures that patients are not exposed to any unnecessary risks. It’s about trust, too. Patients need to know that every tool used in their care, even something as simple as a mouth mirror, is safe and clean.
There are strict rules and guidelines surrounding the sterilization of dental tools, including mouth mirrors. These standards are set by health organizations to ensure that all dental practices adhere to the best practices for infection control. Compliance isn’t just about following rules; it’s about providing the best care possible. Adhering to these guidelines helps dental professionals maintain a high standard of hygiene, which is essential for patient trust and safety. Keeping up with these regulations also ensures that dental practices remain in good standing with health authorities.
Before diving into the sterilization process, it’s important to start with pre-cleaning. This involves removing any visible debris or organic matter from the mouth mirrors. Begin by rinsing the mirrors under running water. Use a soft brush or gauze to gently scrub away any remaining particles. This step is crucial because any residue left on the mirror can interfere with the effectiveness of the sterilization process.
Selecting the appropriate sterilization method is vital for maintaining the integrity of the mouth mirrors. Autoclaving is a common choice due to its ability to eliminate all forms of microbial life. However, it’s essential to check if the mirrors are autoclave-safe, as some materials might not withstand the high temperatures. Alternatively, chemical sterilization using solutions like glyceraldehyde or hydrogen peroxide can be effective, especially for mirrors that are sensitive to heat. Each method has its pros and cons, so consider the specific needs of your practice.
Once the mirrors have been sterilized, proper handling is key to maintaining their sterility. Use clean gloves to remove them from the sterilizer and place them on a sterile surface. Avoid touching the reflective surface directly, as fingerprints can compromise the mirror’s clarity and sterility. Store the mirrors in a clean, dry place until they are needed for use. Regularly inspect the mirrors for any signs of damage or wear, as this can affect both their functionality and safety.
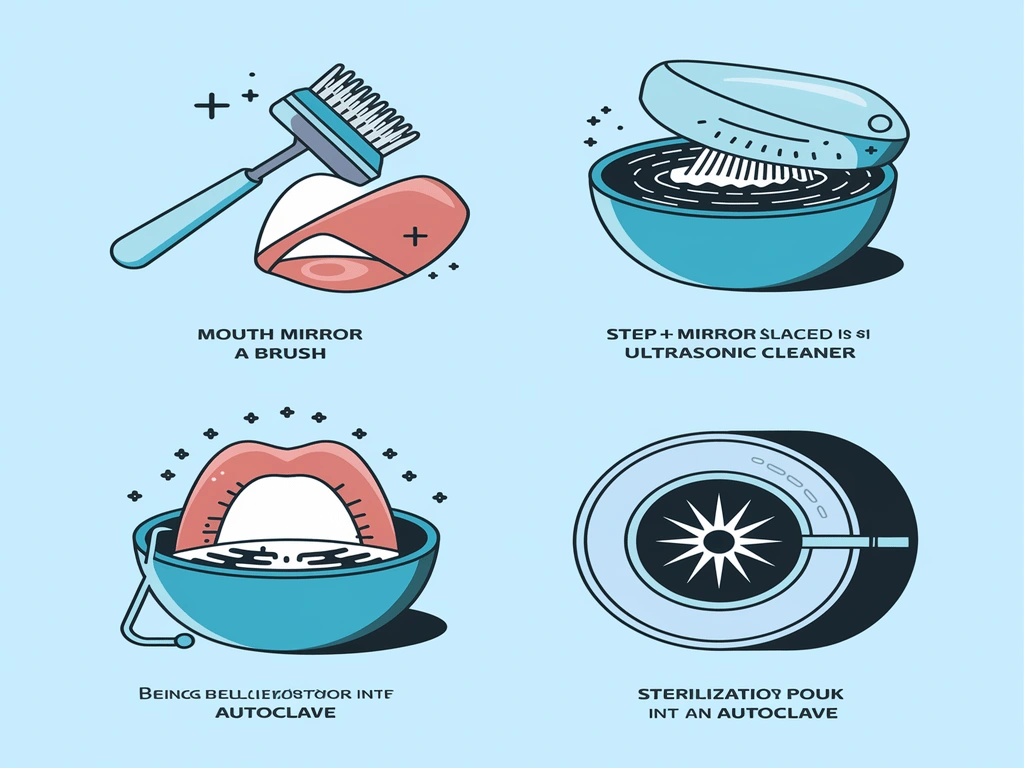
Autoclaving is a popular choice among dental professionals for sterilizing mouth mirrors. It uses high-pressure steam to kill all microorganisms, including spores. This method is highly effective, ensuring that no viable pathogens remain. However, frequent autoclaving can lead to surface damage on mirrors, such as staining or corrosion, especially if they’re not made of stainless steel. To mitigate these effects, it’s essential to follow precise temperature and pressure settings and to avoid overloading the autoclave.
Chemical sterilization involves using liquid chemicals to achieve sterilization. Glutaraldehyde, hydrogen peroxide, and peracetic acid are common choices. These chemicals can be effective without the heat of autoclaving, making them suitable for heat-sensitive items. However, they require longer exposure times and thorough rinsing to remove any residual chemicals. It’s important to note that while chemical sterilization is less likely to damage the mirror surface, it may not be as effective as autoclaving in killing all types of spores.
When choosing a sterilization method, consider the pros and cons:
Choosing the right sterilization method for mouth mirrors involves balancing effectiveness with the potential for material damage. Dental professionals must weigh these factors to maintain both patient safety and the longevity of their tools.
When you’re sterilizing mouth mirrors, keeping the surface intact is a big deal. These mirrors are delicate, and using the wrong method can easily scratch or dull them. Autoclaving, while effective at killing germs, might leave marks or even warp the mirror if not done right. Chemical sterilization is another option, but some chemicals can be harsh. To avoid damage, always check the manufacturer’s guidelines and test new sterilization methods on a single mirror before committing to a full batch.
The whole point of a mouth mirror is to see clearly, right? So, maintaining that reflectivity is key. After sterilization, you might notice some cloudiness or residue left on the mirror surface. To keep them crystal clear, rinse thoroughly after cleaning and dry them with a soft, lint-free cloth. Avoid abrasive materials that can scratch the surface. Reflectivity is crucial for accurate diagnostics, so take the time to inspect each mirror before use.
Regular checks can save you a lot of trouble down the line. Inspect your mirrors after every sterilization cycle. Look for signs of wear like scratches, dullness, or any residue. If you spot any issues, it might be time to adjust your sterilization process or even replace the mirror. Here’s a quick checklist:
Keeping a routine for inspection not only prolongs the life of your mirrors but also ensures you’re providing the best care for your patients. Remember, a small oversight can lead to big problems in patient care.
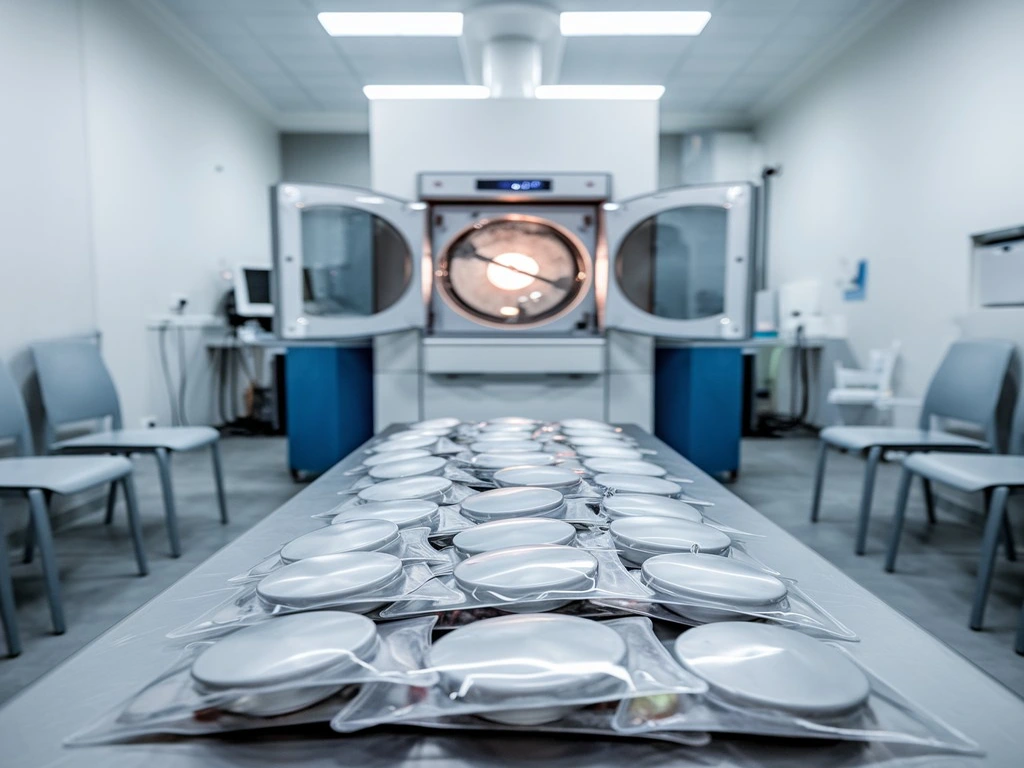
When it comes to storing sterilized mouth mirrors, maintaining the right environmental conditions is crucial. These instruments need a cool and dry place, as too much moisture can lead to contamination or corrosion. Aim for a storage area with a stable temperature, ideally between 68°F and 77°F, and keep the humidity below 50%. This setup helps preserve the sterility and extends the lifespan of the mirrors.
Proper packaging is another key element in storing sterilized mouth mirrors. Use sterilization pouches or wraps that are specifically designed to keep instruments sterile until they are used. Ensure that each package is sealed tightly to prevent any exposure to contaminants. It’s often a good idea to label the packages with the sterilization date, so you know when it’s time to re-sterilize if they remain unused for a while.
To avoid cross-contamination, store sterilized mirrors separately from non-sterile instruments. Designate specific shelves or storage bins for sterile items only, and make sure they are clearly marked. This practice not only helps in maintaining the sterility of the mirrors but also streamlines the workflow in a busy dental office. Regularly inspect the storage area for any breaches in packaging or signs of contamination, and address any issues immediately.
Storing sterilized mouth mirrors properly is not just about following protocol; it’s about ensuring patient safety and maintaining the integrity of the instruments. By controlling the storage environment, using the right packaging, and preventing cross-contamination, dental professionals can deliver the highest standard of care.
Sterilization isn’t always a walk in the park. Sometimes, things just go wrong. One common problem is the “bioburden“—that’s when debris or organic matter is left on instruments. If there’s gunk on your mouth mirrors, steam might not reach every part, leaving them less than sterile. Make sure to clean thoroughly before sterilizing. Another issue is overloading the autoclave. Too many instruments can prevent proper steam circulation, leading to incomplete sterilization.
To tackle these issues, follow a few simple steps:
Even with the best care, mouth mirrors don’t last forever. If you notice any persistent stains or damage that affects reflectivity, it’s time to get new ones. Regular inspection is key—look for scratches or cloudiness that won’t go away with cleaning. Replacing mirrors when they’re no longer effective ensures patient safety and maintains professional standards.
Regular checks and maintenance can prevent most sterilization issues. When in doubt, consult your equipment’s manual or reach out to a professional for guidance.
Wrapping things up, keeping mouth mirrors clean and sterilized is a big deal in dental care. It’s not just about having shiny tools; it’s about making sure every patient is safe from germs. Following the right steps, like rinsing, drying, and using an autoclave, helps keep these mirrors in top shape. Plus, regular checks for any damage mean they stay reliable. So, whether you’re a seasoned dentist or just starting out, taking care of your mouth mirrors is a must. It’s all about giving your patients the best care possible.
Sterilizing mouth mirrors helps prevent the spread of germs and infections between patients, ensuring a safe environment in the dental office.
Mouth mirrors should be sterilized after each use to maintain hygiene and prevent cross-contamination.
Common methods include autoclaving, which uses steam and pressure, and chemical sterilization using disinfectants.
Yes, improper sterilization, especially using high temperatures, can damage the reflective surface of the mirrors. It’s important to follow the correct procedures.
Store sterilized mouth mirrors in a clean, dry place, preferably in a sealed bag, to keep them free from contaminants until the next use.
Replace a mouth mirror if you notice scratches, chips, or a loss of reflectivity, as these can affect its performance during dental exams.

Picking the right dental mouth mirror might seem like a small task, but it’s actually pretty important for keeping your teeth and gums healthy. With so many options out there,
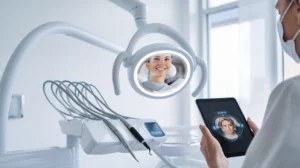
Dental mirrors have come a long way. From simple reflective tools to sophisticated gadgets, they play a key role in modern dentistry. With constant innovation in dental mirrors, these aren’t
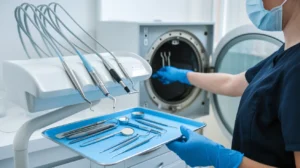
Hey there, dental pros! Today, we’re diving into something super important but often overlooked—how to properly mouth mirror sterilization. If you’re in the dental field, you know these little tools
At The Surgical Kit, we are committed to providing healthcare professionals with the finest tools to ensure precision and safety in every procedure.